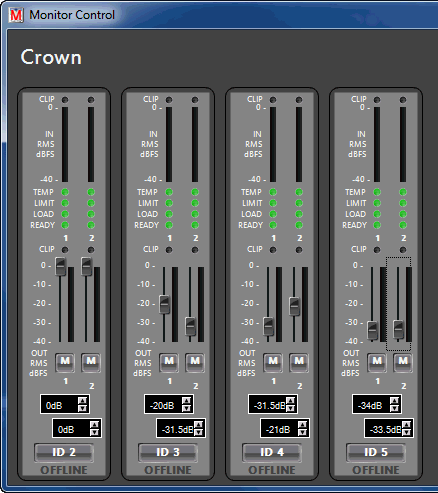
Custom Monitor Panels give the user the ability to monitor selected or all devices using a single panel. This is especially helpful when the user needs to source a fault and access the faulty device(s) quickly and easily. Once a custom monitor panel is created, it is stored and treated in the same manner as a standard custom control panel and is accessed and edited from the custom control panels window tab.
The main function of the Custom Monitor Panel is to allow the status of critical device parameters of a number of like and/or unlike devices to be monitored from a single panel. The devices monitored are determined by the user. With a simple wizard enabling the user to select which critical parameters are to be monitored, a Custom Panel is generated in a fashion similar to the generation of the Grouping Wizard panel.
Items that can be monitored include:
Input - shows the input(s) status of specified devices
Output - shows the output(s) status of specified devices
Mute - mutes a specified device or selected channels of a device
Online - indicates if the device is online
Locate - Turns on or off the " locate" feature
Creating a Monitor Panel is very similar to creating a Master Control Panel.
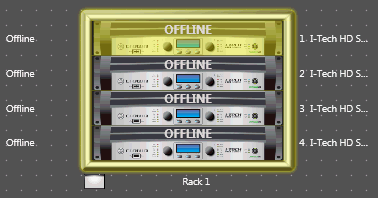
Shown selected here is the top Crown I-Tech HD in a rack of four.
NOTE: For this example, each of the four I-Tech HD amplifiers have different output level settings.

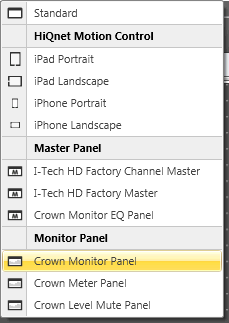
Then click on the New button in the Panels section of the Ribbon. This will bring up the selection window:
In this example we'll select Crown Monitor Panel.
 .
.
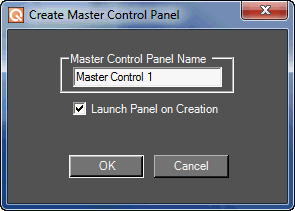
 Name the Master Control Panel and select whether or not you wish to launch the panel on creation.
Click OK to create the panel.
To Add the remaining three amplifiers to the Monitor Panel, first highlight the next amplifier in the rack then select Add Devices in the Panels window.
Shown here:
 NOTE: Click Remove Devices if you wish to remove the device from the Monitor Panel.
Continue Adding Devices until you have all the devices you want added to the Monitor Panel.
To activate the Monitor Panel, double click on the Monitor Panel name in the Panels section of the Ribbon.
