
Here devices are added to the venue by expanding the Harman brands, Controllers or Other in the Devices Toolbox, selecting which device to add, then dragging and dropping that device onto a Room in the venue.
Devices may not be added to the main Venue canvas, they must be added to a Room.
NOTE: If there are devices that have been discovered by Audio Architect on the network, you will see, "Discovered (n devices)" (where 'n' equals the number of discovered devices) below the 'Expand All' button in the Devices window.
Other Devices
The 'Other' devices in this menu are for representation only to complete visual rack elevations and cannot connect to hardware
Multiple devices are added to the Rooms by Right-click/holding the selected device and dragging it onto the Room. You then see:

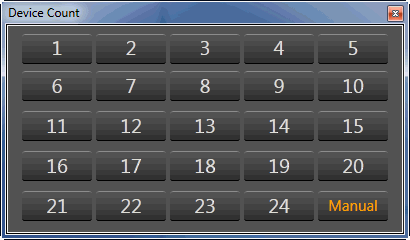
Selecting 'Add' will add one device. To add more than one selected device, choose 'Add Multiple'. You then see:

Select the number of devices you wish to add.
You will then see that number of devices you selected added to that room in the venue.
If you have more than one Room, you may double-click on that room to see the devices there.
If you wish to add more devices to an existing rack within the Room, you may proceed as above by either click/hold drag a device into that rack to add a single device, or right-click/hold to add multiple devices. You'll note that a yellow line is presented to indicate where the device is to be placed.
Please see the Device States topic for detailed information regarding the status of discovered, online/offline, matched/unmatched, etc., devices.

If there are Discovered devices noted in the Devices window and they are dragged/dropped onto the workspace, they will appear with a green dot next to the device. The green dot indicates that they are 'Matched' and are online.

Refresh: The Refresh Networking button temporarily shuts down the network and restarts it.
Cut / Copy / Paste: Act as standard Windows Cut/Copy/Paste functions.
Delete: You may delete a selected device or multiple selection of devices from the Venue using the Delete button or with the Delete keyboard key.
Select All: Use this to select all devices within the current view, or with the standard CTRL-A Windows keyboard shortcut.
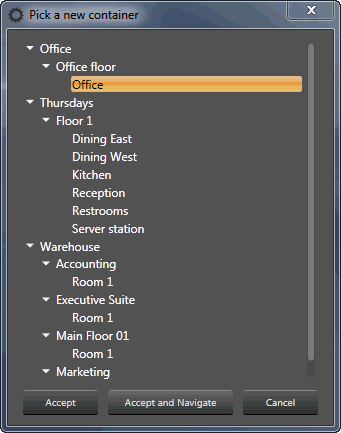
Move: This button is present when a device has the option to be moved to a different, available location.
Clicking "Accept" moves the device, clicking "Accept and Navigate" moves the device and opens the location where the device was moved to.

Undo/Redo: Use these buttons to Undo or Redo all operations, or with the standard CTRL-Z (Undo, CTRY-Y (Redo) Windows keyboard shortcuts.

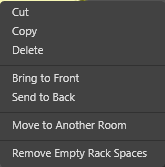
Right-clicking on a rack brings up this window:
(NOTE: 'Move to Another Room' is greyed out if another room is not available to move the rack to, 'Remove Empty Rack Spaces' is only available if there are empty rack spaces)
The checked items are displayed along side the appropriate devices in the venue

Device Names: The name of the device as set in the device Properties.
HiQnet Addresses: The device HiQnet Address.
IP Addresses: The device IP Address.
Rack/Array Names: The name of the rack as set in the rack Properties.
Matched Indicator: When green indicates that the device is present on the network.
Unmatched Indicator: When red indicates that the device is present on the network.
See Room Properties here.
Reorder Ascending / Descending: When a rack of multiple devices is selected, these buttons allow you to re-order the devices in the rack by their device numbers. They may be placed in either ascending or descending order.
If you select a single device, it will become highlighted in yellow, and the Device Tab will be present. See more info on the Device Tab here.