
The Campus section of the Define Venue ribbon is for designing for a set of multiple buildings. Think of designing a college campus where there are a number of buildings each with a number of floors. Each floor may contain a number of rooms. Please note that all floors must have at least one room and all buildings must have at least one floor. For example, if a floor has multiple rooms and all rooms are selected for deletion, the Delete option in the Editing portion of the ribbon is greyed out and not available.
Campus
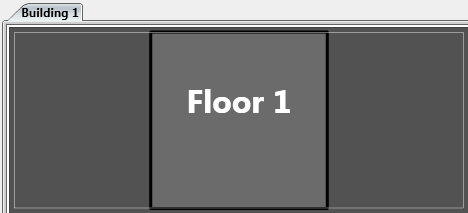
The Campus mode of the Define Venue tab first opens with the New Building button. To begin designing, click the New Building button to add the first building. This automatically adds and opens the building to the first floor.

Double-click the Floor to open it.

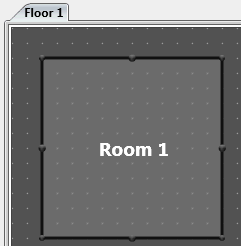
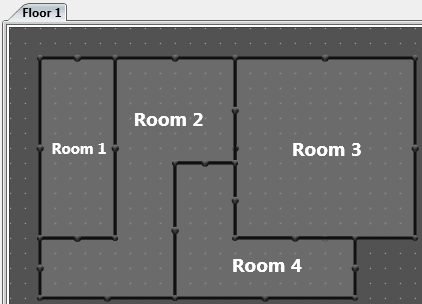
The Floor is now ready to be designed by adding and shaping rooms as indicated here in the Draw Rooms portion of the Defining the Venue.
Once the floor has been designed:

Click the  (Move up one level) button to return to the Building level.

Here a new floor may be added by clicking the New Floor button in the ribbon. Or to duplicate the floor, click the Floor in the workspace to select it. Then click the Duplicate Floors button in the ribbon. This may be done as many times as necessary to complete the building design.

From here, floors then rooms are selected and devices are added.
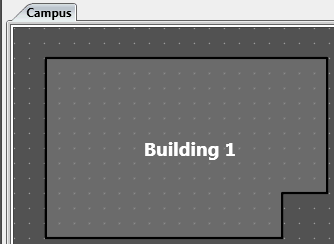
To add more buildings to the campus, use the  button until the workspace has returned to the Campus view.
