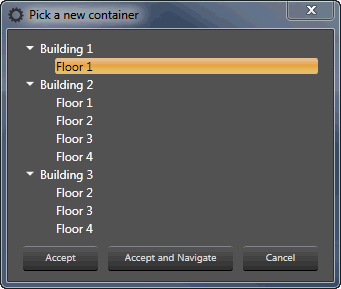

New Building: Creates a new building
New Floor: Creates a new floor
Duplicate Floors: Duplicates the selected floor.
To learn more about designing a campus, click the Campus Designer here.
Create: Creates a group of the selected rooms
Create Partition: Creates a virtual partition between the selected rooms
Delete Partitions: Deletes the selected partition
To learn more about room combining, click the Room Combine topic here.
Cut / Copy / Paste: These operate the same as standard Windows Cut/Copy/Paste.
Delete: Deletes the selected Room.
Select All: Selects all Rooms in the Venue.
Move: Allows a floor to be moved to a new location. Note: Certain restrictions apply - multiple rooms may not be moved.

Undo / Redo: All operations may be undone / redone while in Venue Designer mode with the following exceptions: AutoCAD file export and Revit file export.
Mirror: Will mirror the selected item either horizontally or vertically.
Rotate: Rotates the selected item Clockwise 90 degrees, Counter-clockwise 90 degrees or 180 degrees


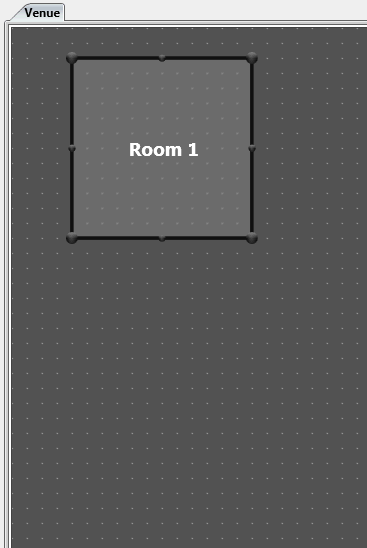
The first step in the Workflow is to draw the Venue. Here you either add Rooms to the Venue and begin adding devices, or draw Rooms over the top of an image that you import. Defining the spaces in which your devices will reside gives Audio Architect valuable information. This information is then used to automate various functions as well as provide you with a view that marries the physical location of devices and signals with the logical operation of devices in Audio Architect.
If you wish to start by adding an image of your building, import it by right-clicking on the Venue (not on a Room), right-click on the venue and select New>Frame/Image. Make sure the image of your room is quite large before opening, 4000 x 4000 pixels is recommended. Import the image, then drag and drop Rooms into the venue.
Rooms can be modified in the following manner:
- Left Click and Hold on Vertex = Reposition/Stretch
- Double-Left-Click on Room Border = Add Vertex
- Shift Key = Scale and Rotate
- CTRL + X/C/V = Cut/Copy/Paste
- Right Click on Room = X/C/V menu
- Compass Icon = Reposition Room
- Hover the cursor on a border then left click on red border and drag to stretch Room.
Once the Room has been added, access to user-defined Properties are available for more information about these Properties see, Properties.
Don't worry about getting the vertices and borders to line up exactly. Start with a broad representation, you can always go back and fine tune once the general shape of your building has been completed.
 Go to Venue button: Clicking this button (Located above the Venue Tabs) when you are in a Room will return you to the main Venue.
 Move up one level button: Clicking this button moves the designer up one level such as moving from Room to Floor for example.
Once the Rooms have been defined, begin Adding Devices.